Slide Shows/Banners
Slide shows or banners are images, videos or text blurbs that can be added to communicate to your end user community.
Access Slide Shows/Banners
Click on the Catalog then Slide Show tab.
Creating a slide show
- Go to the view Catalog -> Slide Show menu option.
- Click "Add Slide show" as highlighted below.

- A form will appear prompting you for the slide show details. as described below.
Filling out the Slide Show form
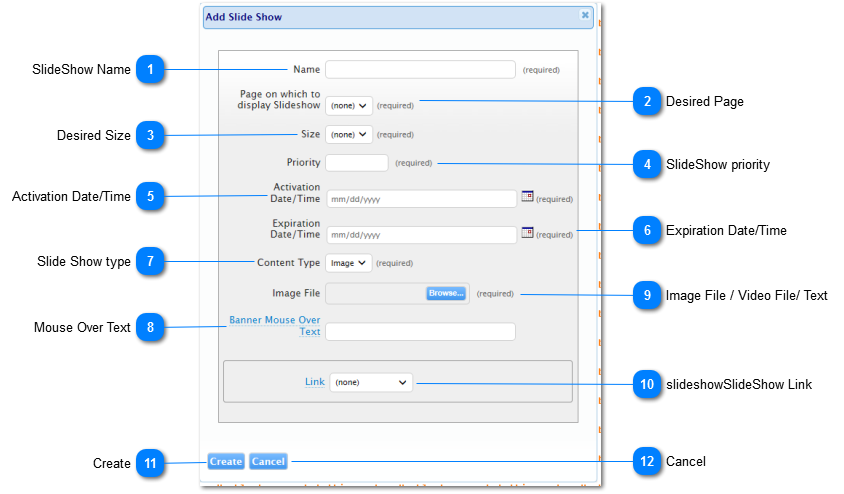
| Name | Description | |
| 1 | Slide Show Name | A descriptive name for this banner/slide show that other administrators can identify with. |
| 2 | Desired Page |
The page on which where you would like this banner to be presented. Currently slide shows are only displayed on the home/landing page. |
| 3 | Desired Size |
The dimensions of the slide show can either be 800 pixels wide for the primary banner or 300 pixels wide for the secondary banner. As shown below, the 800px size is for the primary display on the landing page. 300px is for the smaller slide shows displayed to the right. 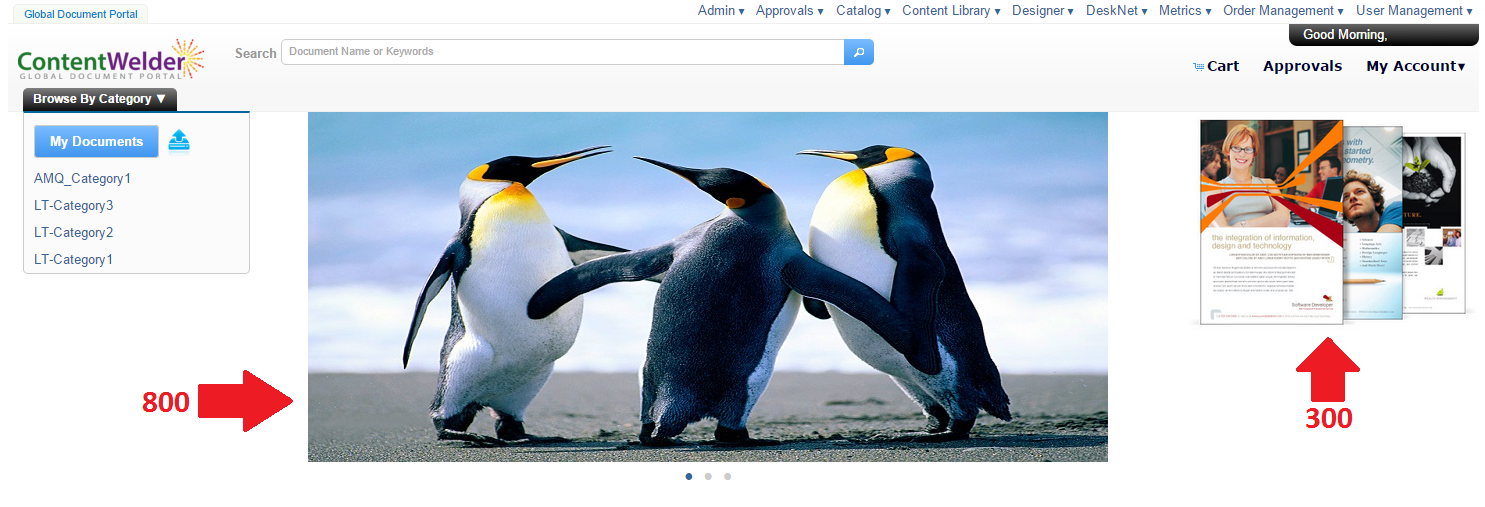
Note: The '300px' size promotions only appear if your users browser window is 1500 px wide or greater. As such, any content deemed critical should be displayed in the primary or 800px slide show. The secondary or 300px slide show is meant more as an additional means of communication. |
| 4 | Slide Show Priority |
The rotating flow of images is set by a priority number. Images will appear based on the priority set by the Administrator. 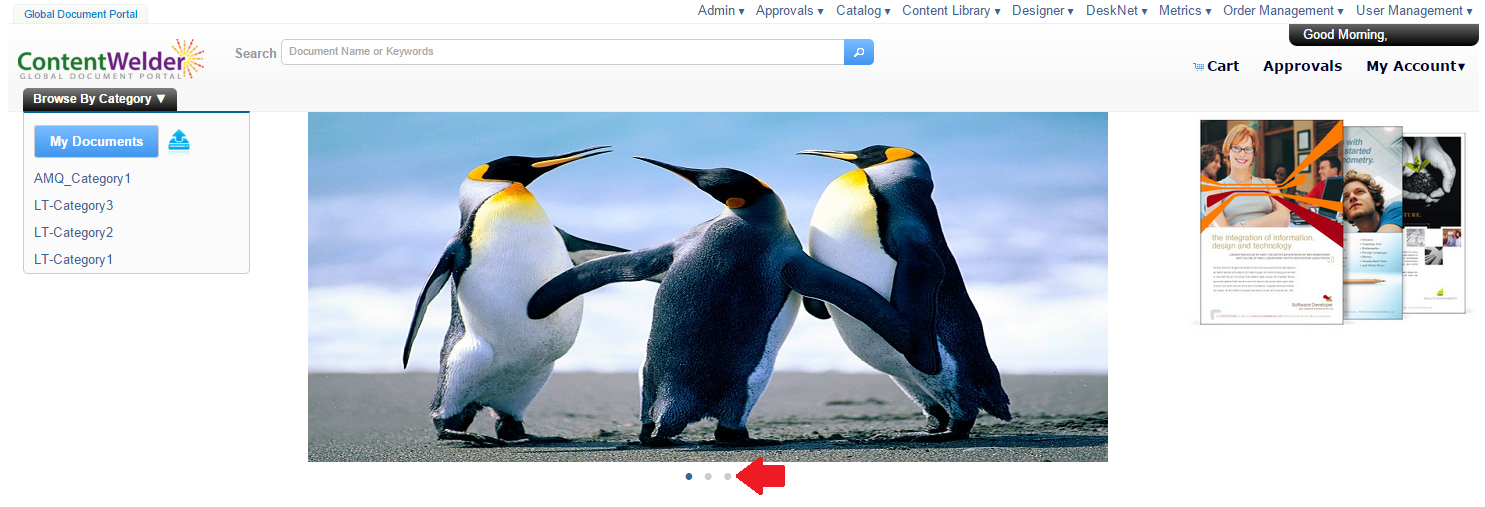
In the image above, three dots are displayed below the 800px slide show and each dot represents a different Slide Show. The first dot is the highest priority slide show and will appear first. Slide Show Rotation By default, ContentWelder will rotate between each slide show in their order of priority. |
| 5 | Activation Date/Time |
As set by the Administrator, this is the date the slide show becomes active. If you want an item to be activated immediately, choose a date that is in the past. Planning Ahead This functionality will allow you to schedule your slide shows to coincide with any promotions your company is offering. Example, Let's say your organization has a promotion or program that will be kicks off at the start of a day or a week. As an example, rather than having someone stay up to active this at a midnight hour, simply set the activation date to the appropriate time and ContentWelder will automatically activate it. |
| 6 | Expiration Date/Time | Similar to the activation date, the expiration date allows you schedule when a slide show will expire. |
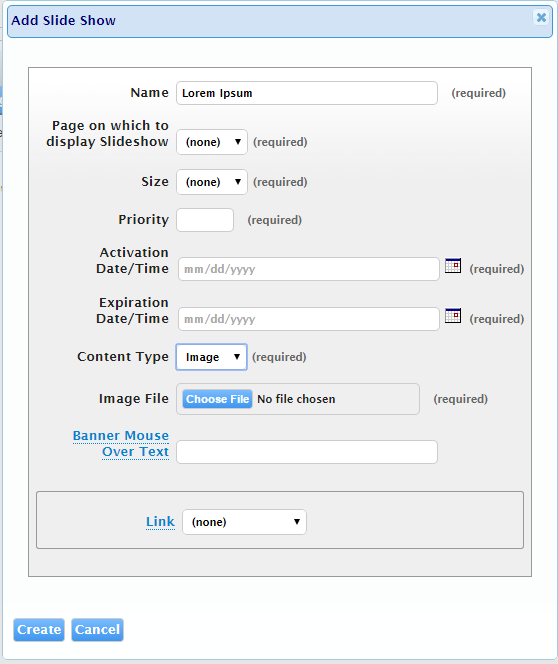
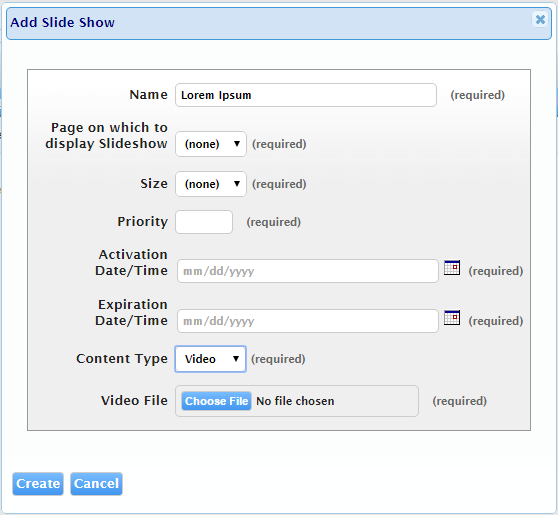
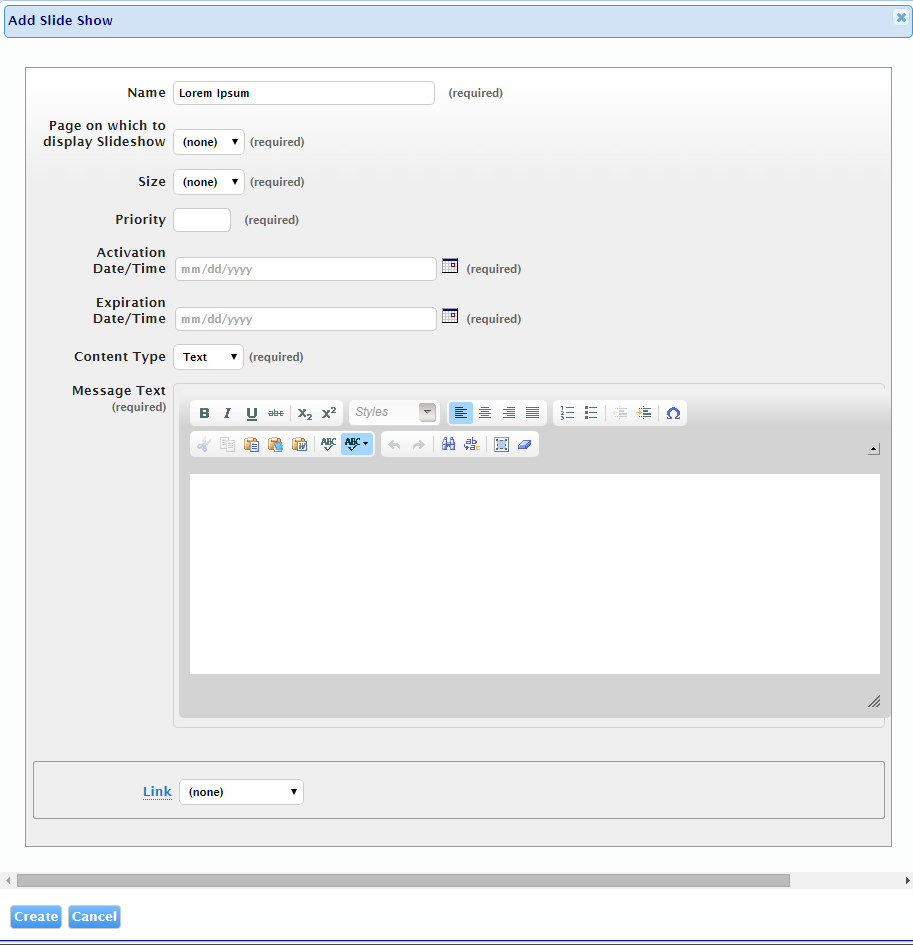
| 7 | Slide Show type |
There are three types of slide shows that are currently supported in ContentWelder:
Each selection will impact what choices you have available to you. |
| 8 | Mouse Over Text |
Only available if the Slide Show type is a an Image. Adding Mouse Over Text means that when a user mouses over the image, the text you've entered will appear above the image as shown below. This can be useful as an extra call to action for users once they move the mouse over the image. Below is a sample slide show with a Banner Mouse over text set to "Loremp Ipsum". 
|
| 9 | Image File / Video File/ Text |
This prompt will change depending on what type of slide show you are creating.
Examples
|
| 10 | Slide Show Link |
This is only available when the content type is "Image" or "Text". This feature allows you to link your image or text slide show to:
Example Let's say you have a series of catalog items that you would like to promote but aren't getting the visibility you would like. These products are tied to a specific theme like Staying Healthy'. By creating a slide show Image that draws the eye and conveys a message of 'healthy living', you would use the 'link' and choose "Keyword Search" so that when users click on the slide show, ContentWelder performs a search for all catalog items linked to the 'healthy living' keyword. In this manner you've tied one highly visible banner to multiple products. If you only want to tie to a single catalog item rather than a series of products, you would choose the "Catalog Item" rather than Keyword search. |
| 11 | Create | Click to Create your slide show. |
| 12 | Cancel | Click to Cancel. |
Approving and activating your Slide Show
Now that you have created your slide show, you need to approve it by clicking the blue check mark  .
.
If the current date and time falls within the activation window you specified for the slide show, then your slide show will appear on the landing page within a few minutes.
If the activation date is sometime in the future. ContentWelder checks Slide Shows for activation every 5 minutes.

©2022 DeskNet Inc.
Proprietary and Confidential Information