Data Instances
In the "Data Models" section we discussed the benefits of creating Data Models and how do this. In this section we will cover how to make use of the Data Model to store content in the system. Looking at the diagram to the right. in the "Data Models" we covered the first two columns of the relationship between Data Models and Data Instances.
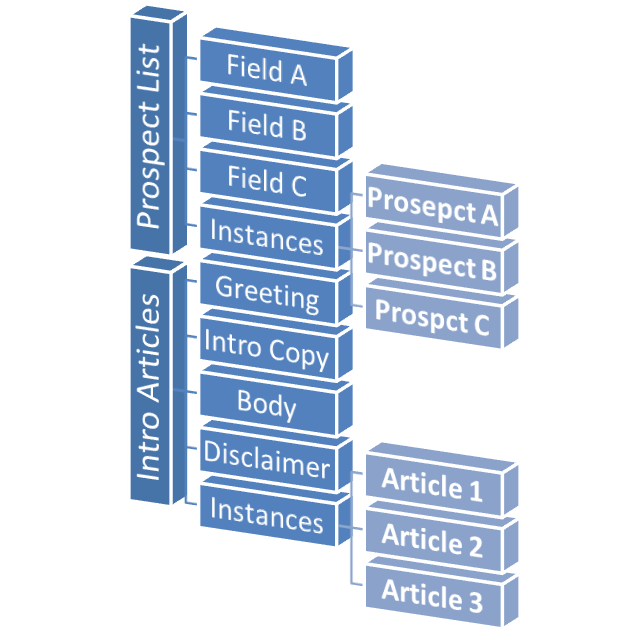
Referring to the diagram, we can see:
- "Intro Articles" is a Data Model, with the following fields:
- Greeting
- Intro Copy
- Body
- Disclaimer"
- Data Instances are content that "inherit" the Data Model field definitions.
Access Data Models
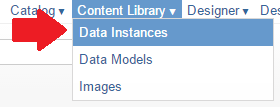
Click on the Content Library then Data Models menu option.
Creating a Data Instance
- Content Library > Data Instances
- Click "Create Data Instance"
-
The Data Instance wizard screen will appear as shown below.
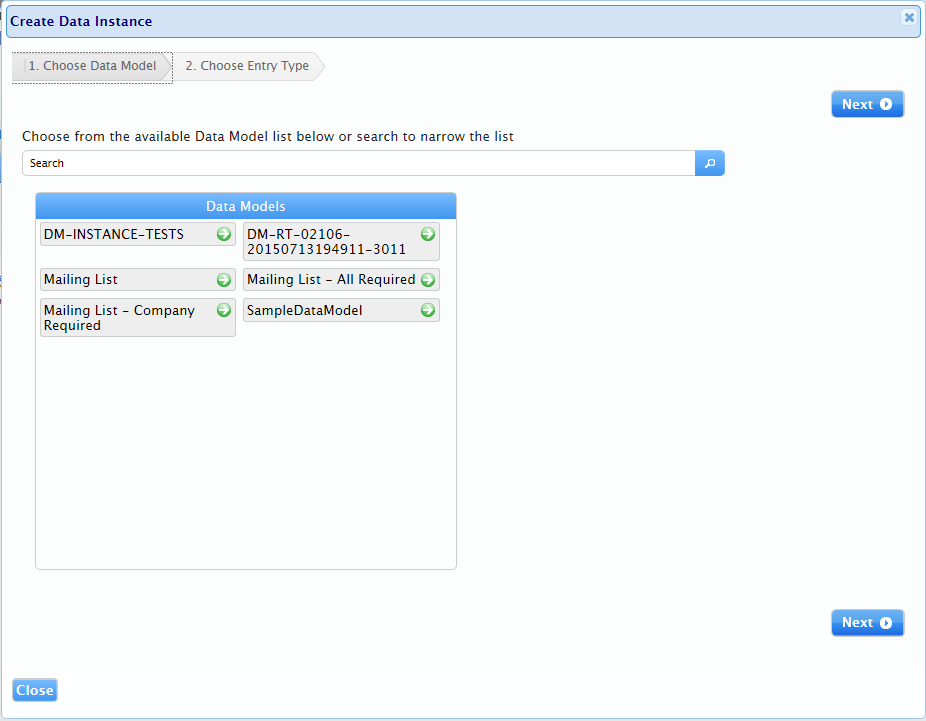
Step 1: Choosing your Data Model
The first step in creating Data Instances is choosing what Data Model you want to work with.
Note:
Since Data Models have the field definitions, it's important to choose the right data model.
The system displays existing Data Models as can is seen in the screen-shot to the right.
Searching for a Data Model
If you don't see the Data Model you want, or if there are too many data models to browse through, you can search for a specific Data Model.
- Entering a search term will return a result of all matching Data Models
Note: Keep in mind that there is always a possibility that you don't have any Data Models defined yet. so be sure to either create one first. or if you don't have access to creating Data models. check with your Administrator
- Once you find the Data Model you want to use, select it by clicking on it.
- Doing so will display your selected Data Model on the right hand side. Below is a screen-shot showing the selected data model is the one we created in the Data Model article.
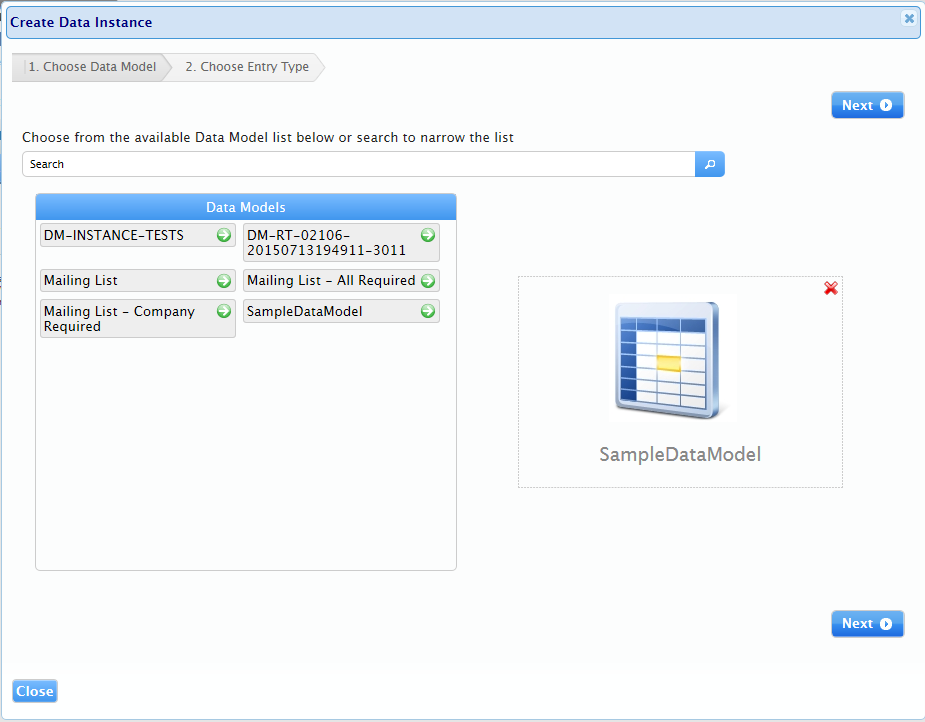
- Finally click "next" to move to step 2
Step 2: Choosing how to enter Content
The next step offers you a choice of how to enter data for this data Instance. shown below.
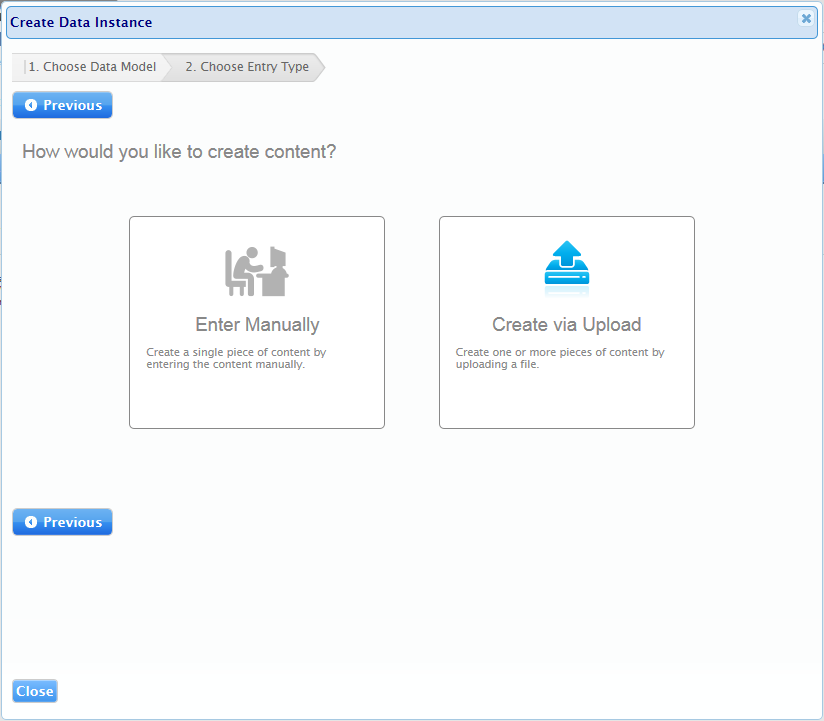
Enter Manually
With this option, you will create a single data instance by manually entering the values for the data model fields.
See the Create Data Instance Manually for a step by step walk through
Create via upload
With this option, you are able to upload an excel file and create multiple Data Instances.
See the Create Data Instance via upload for a step by step walk through
Note: If you have more than a handful of Data Instances to create, possibly even hundreds, "Create via Upload" is recommended. Besides, do you really want to look like that person hovering over a keyboard? That doesn't look comfortable.
Conclusion
The number of Data Instances you create is driven by the combination of your business and what Data Model you are working on with.
- A Data Model for a disclaimer for example may require a couple dozen of Data Instances
- Whereas a Data Model for articles that are continually updated to meet market events may have a couple hundred Data Instances created
As such, when creating your Data Models, make sure you factor in how Data Instances will be impacted.
See the next sections for information creating content

©2022 DeskNet Inc.
Proprietary and Confidential Information